When people ask how to find a stud without a stud finder, there are a actually a few different methods that anyone can use successfully.
Finding a stud in the wall, while it isn’t a glamorous task, is vitally important if you’re hanging something heavy, fragile, or both. Without the strength of the stud to hold the nail or screw in the wall, it could easily fall out if you hang, say, a large painting, a shelving unit, or a medicine cabinet. But what happens if you don’t have a stud finder?
How To Find a Stud Without a Stud Finder
In this article, How To Find a Stud Without a Stud Finder, we’ll tell you about several different ways you can do it, and share some easy instructions too. Enjoy.
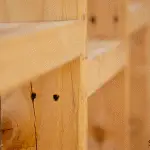
Method #1 – Search for ‘Dimples’ in the Wall
This method works if you have walls that were made with sheetrock or drywall. When this type of wall is made, screws or nails are used to hold the sheetrock or drywall to the studs. After the walls have been plastered however, you can often see where the screws or nails were placed, especially after your house has settled for a few years. They create ‘dimples’ or indentations in the wall and let you know exactly where the stud lies.
To find dimples, hold a flashlight up to the wall and wherever there’s a dimple, you’ll see a shadow. Use a pencil to make a mark when you do. Then, use a long carpenter’s level, in the vertical position, and place it vertically level with the dimple lined up. This will show you where the stud lies going up the wall. Lastly, make a mark along the vertical stud line where you want to place your screw or nail for hanging. Done!
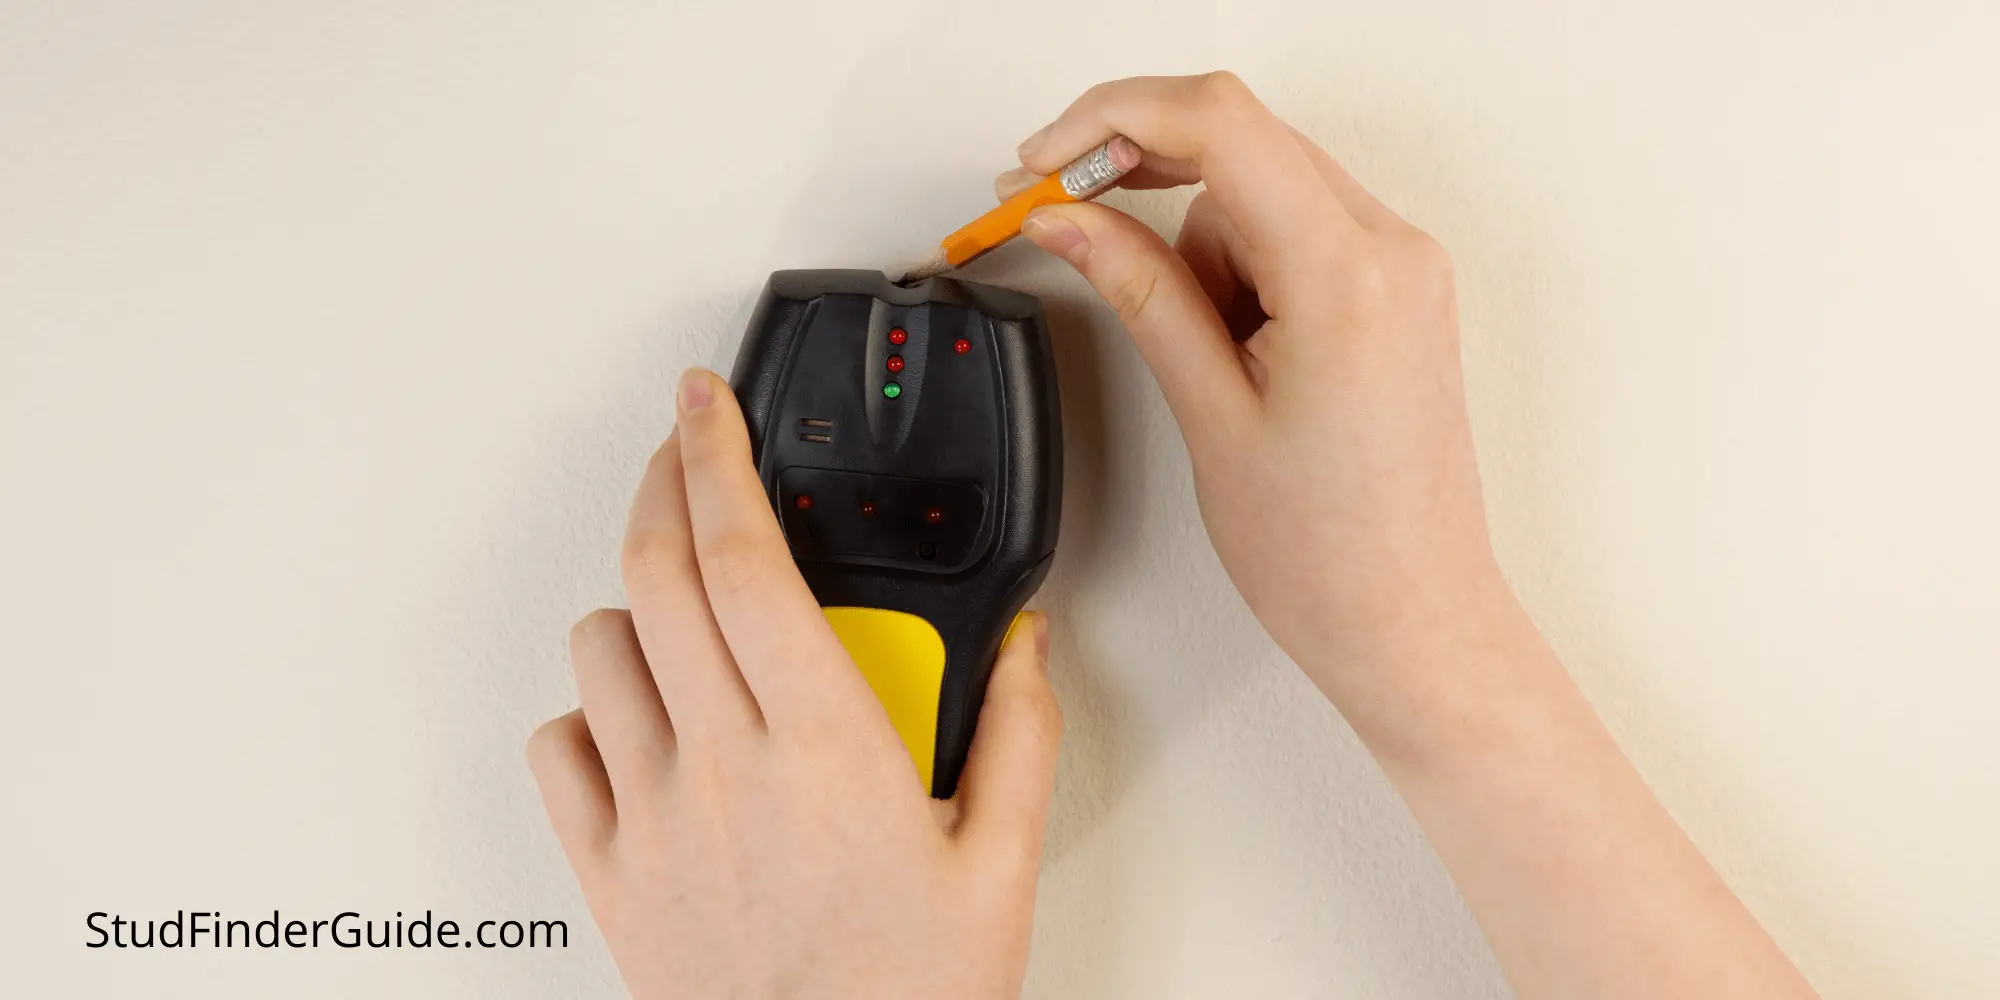
Method #2 – Use An Electrical Outlet or Light Switch to Find the Stud
In typical construction, the electrical outlets where you plug things in, as well as the light switches, are attached directly to studs for safety. If you see an outlet or light switch you know there’s a stud extremely close, you just need to figure out on what side of the outlet or switch it lies.
To do this, simply remove the outlet or light switch cover. (It’s usually attached with 2 small screws.) After you do, use a flashlight to peer into the light switch, being careful not to touch it, and look for the stud. (There are small holes in the outlet box.) On most occasions, you will also see where nails or screws were used to attach the switch box to the stud, a dead giveaway. Then, simply mark the side where the stud sits on the sheetrock and you’re done! As with method #1, you can then use a carpenter’s level to see exactly where the stud lines going up (or down) the wall.
Method #3 – Use a Measuring Tape to Measure Where the Studs Should Be
This is relatively easy although it can be a little bit imperfect. The typical house is built by placing the studs either 16 or 24 inches apart, so if you know where one stud lies you can use a tape measure to determine where others lie also. It’s best to start in the corner because a stud will almost always lie directly in the corner.
Then, keeping in mind that studs are 1 3/4 inches wide, you can use your tape measure to measure out where the rest of the studs would lie. If you needed, say, the 3rd stud from the corner, you would measure (16 X 3) + (1 3/4 x 3) which would be 58 1/4 inches. You would then know where the edge of the 3rd stud would be. For a house with 24-inch stud placement the formula would be (24 x 3) + (1 3/4 x 3) which would be 76 1/4 inches.
Method #4 – The Tapping and Sound Method
This method might be the most unreliable but, in a pinch, it can work. Using a hammer, a rubber mallet, or, if you don’t have those tools, your fist, you can tap lightly on the wall. When there is no stud present the wall will sound hollow and ‘give’ a little but. When you hit a stud, however, the sound will be deeper and sound more solid. That’s your stud’s location! Make a mark and get to work!
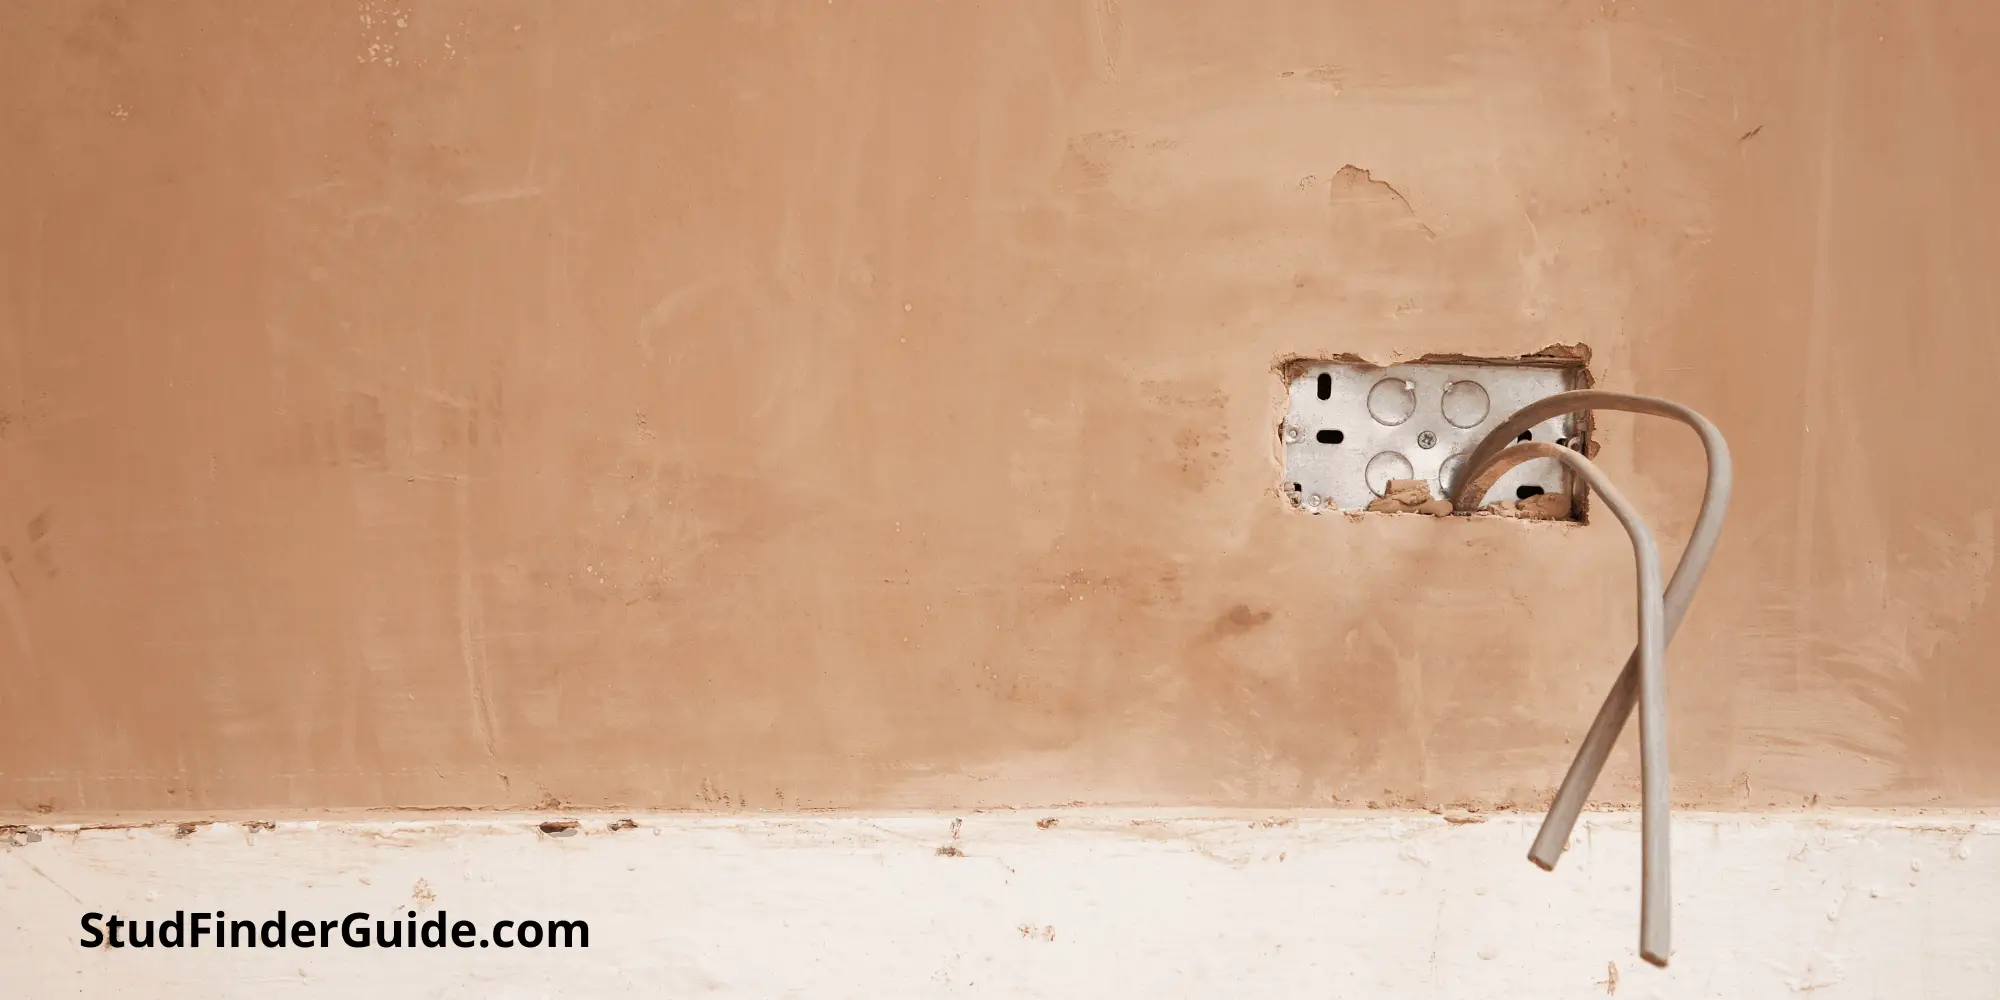
Bonus Method – Use an ‘L-Shaped’ Wire in a Hole You Drilled that Missed the Stud (but was close)
If you missed the stud slightly when you drilled in your screw you can use an ‘L-shaped’ piece of wire to find it. Take a small piece of wire (hanger wire works best, or a thick paperclip) and bend it into an ‘L’ shape. Then simply stick the wire into the hole and twirl it around, keeping a mental note of where the wire sits in the hole. When the wire hits something and stops, you’ve found a stud!
In Closing
These are the most reliable methods to find a stud if you don’t have a stud finder. They do work but, truth be told, a battery-powered stud finder works so much better, faster, and more accurately. If you have any questions or would like some advice about stud finders, please let us know and someone will get back to you with answers ASAP. Thanks, and good luck finding those studs!