Learning how to use a stud finder tool, will make those home DIY projects a breeze. Whether you’re hanging a large painting or a flatscreen TV, installing new shelves or attaching a large piece of furniture firmly to the wall. For safety reasons, the first thing you’ll need to do is find a wall stud. In this quick and useful article we’ll tell you how to do just that, to make these chores, and more, a bit easier and allow you to hang, install or erect them safely and securely like a pro. Enjoy!
What, exactly, is a Stud?
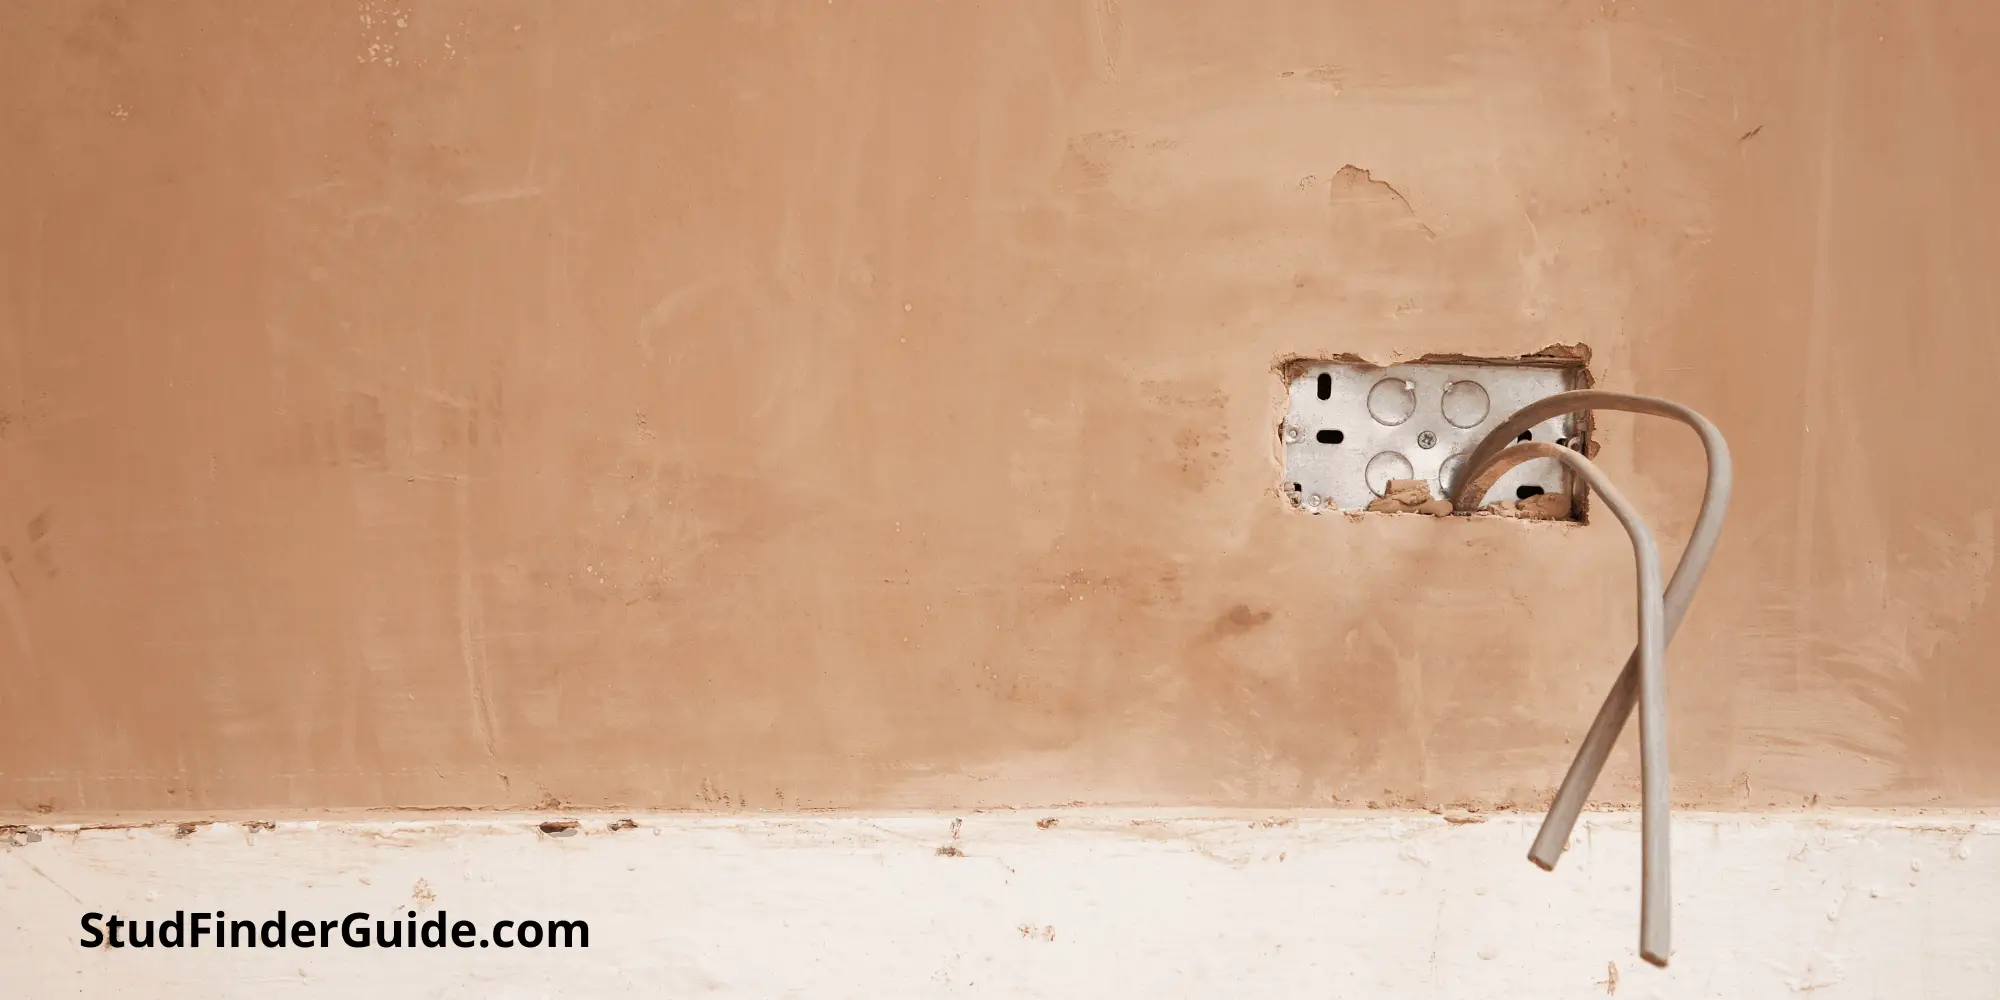
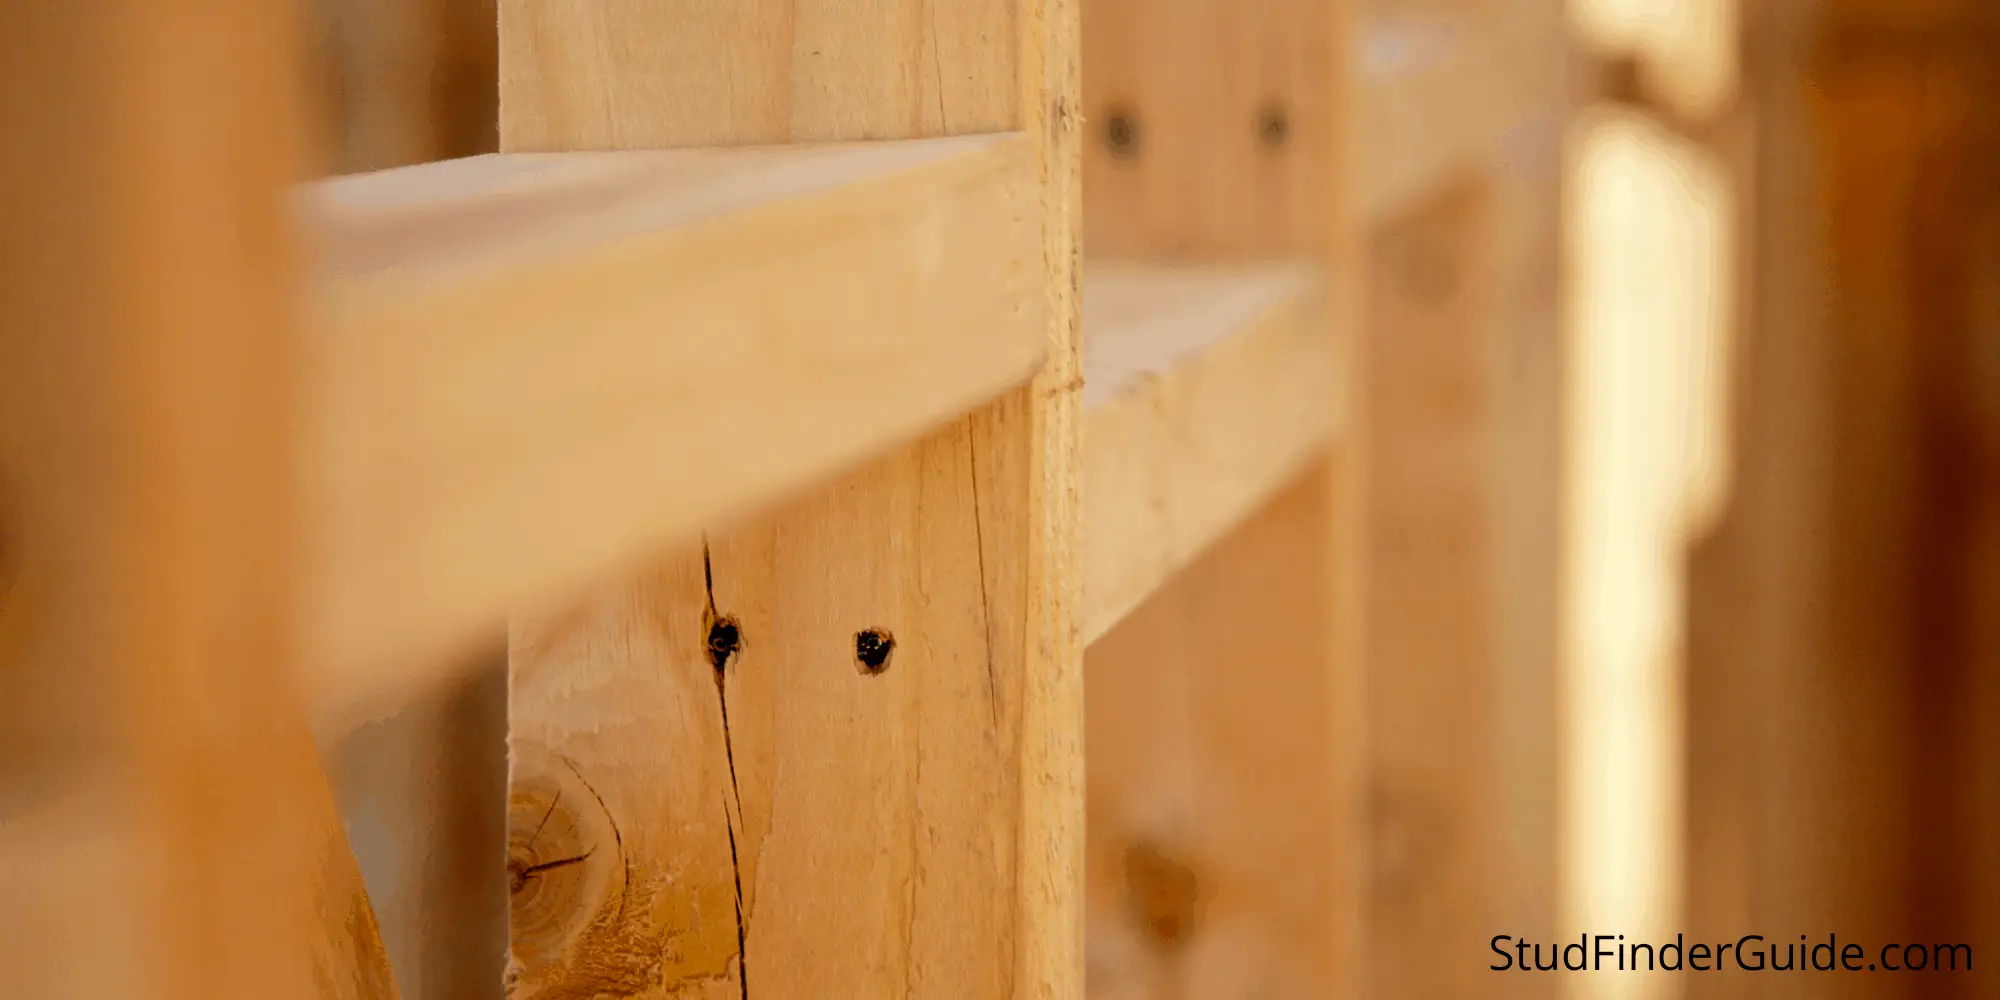
In the construction industry, a stud is an upright support used in the wall of a house or other building. Sheathing, drywall (sheetrock) and panelling are then attached to the stud(s), creating the wall.
What is a Stud Finder?
A stud finder is a hand-held electronic device that is used to locate the exact position of a stud in a wall when there are no other visible signs of the stud to go by. Stud finders (aka stud detectors and stud sensors) make it much easier to find the location of a stud so that something can be attached or hung on a wall, like a flatscreen tv, kitchen cabinets, hanging shelves or a large painting.
In these situations, where the item being hung or attached to the wall is rather heavy, the need to attach them directly into a stud (or several studs) is vital in terms of making sure they stay in place and won’t become detached and fall off, possibly injuring or even killing someone. This is especially true in, say, an earthquake-prone area of the country such as California. The last thing you want is for a kitchen cabinet loaded with glasses and plates to fall off the wall, or a large dresser to fall over and land on a curious child.
Most stud finders detect wooden 2/4 studs although there are stud finders that are magnetic and detect metal screws and nails instead. It follows that if you find a screw or nail you’ll have also found a stud as screws and nails are attached to them. In fact, the first stud finders used in the early 1900s were all magnetic. However, in 1977 inventor Robert Franklin created a stud finder that used a capacitor plate to identify different densities inside a wall and the modern stud finder was born.
What Are the Different Types of Stud Finder?
- Electronic Stud Finder – battery-powered, detects the edges of a stud
- Magnetic Stud Finder – Uses magnets, not batteries
- Whole Stud Detector – Detects the entire stud, not just the edges
- Electronic Edge Finder – The most common in home improvement stores, detects the edges of a stud
- Instant Stud Finder – Expensive and advanced, they find the stud without having to move it back & forth

How To Use a Stud Finder
Using a stud finder is quite easy, even for a complete beginner. Below we’ll run through all of the simple steps and some extra tools you’ll need.
- Tools Needed
- Stud Finder
- Tape Measure
- Construction pencil or another marking device
Before you Start
If you’ve never used a stud finder before, take a few minutes to get to know the model you’ve purchased. Install the batteries (if needed) and read the instructions fully so that you know what you’re looking at as far as lights and sensors are concerned. Use it on the wall to see how it works and how it feels in your hand and which buttons you need to press in order to have it function correctly for you.
Decide where the item will be hung
Use any templates given by the manufacturer of, say, the TV wall mount or the shelf unit. If you’re hanging a painting or picture, determine where the screw or nail will be placed in order for it to be at the correct height. (A tape measure comes in very handy here.) If you’re using a magnetic stud finder remove anything made of metal that might interfere with your stud finder’s readings.
Check the Batteries & Clean the Device
If your stud finder uses batteries check to make sure that they have enough energy for the project. Also, use a damp cloth to clean any dust or debris off of your stud finder so that you don’t leave scratches or marks on your wall.
Determine approximately where the studs are in your wall
In the typical home, studs are placed 16 inches apart, although occasionally they are spaced 24 inches apart. Knowing this, give yourself about a 2-foot area around the location where you plan to place the screw or nail.
Turn On the Stud Finder and Calibrate
Turn your stud finder and place it on the wall close to where you will be placing the screw(s) or nail(s). Then, place it flat on the wall, with the correct side facing outwards and the device in the correct vertical or horizontal position (depending on the type you purchased). Next, press the ‘on’ button and hold it in the on position. The device will emit a beeping sound, a flashing light or both. When they stop, your stud finder is calibrated and ready to use.
Slide To Find a Stud
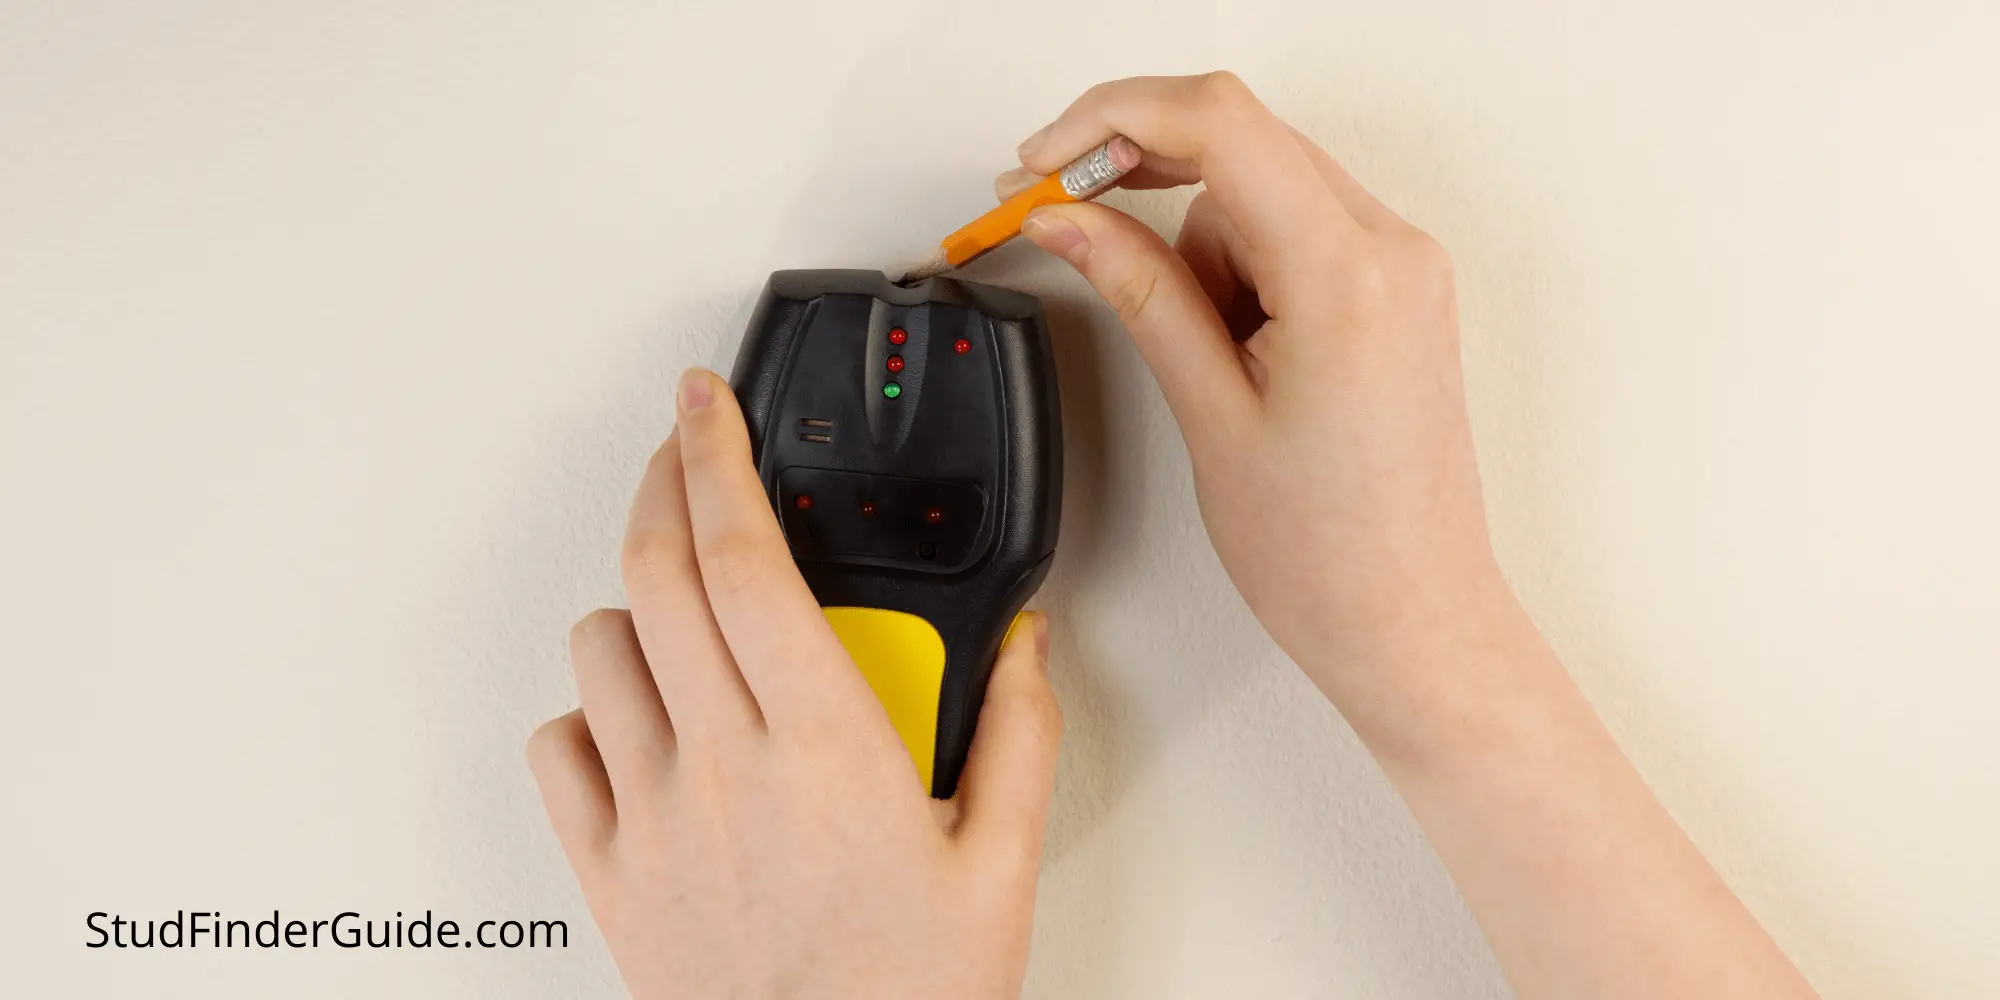
With your stud finder still flat on the wall, push and hold the ‘on’ button and slide it horizontally until the beeping and/or flashing light alerts you to the location of either the edge of a stud or the whole stud (depending on our device), and stop.
If you stud finder finds edges, make a mark on the wall. Then, slowly start sliding again until the beeping or flashing starts again and make another mark. Now you’ll know the location of both edges of the stud and will be able to determine the exact center. To be sure, you can repeat the process a 2nd time.
If you need to find multiple studs repeat the process until you’ve located all of them. This would be necessary for, say, a TV wall mount, kitchen cabinets, shelf brackets, etc.

Insert a Screw or Nail and Hang Your Item
Now that you’ve located the stud and know where the center of the stud is also, screw in a screw or hammer in a nail! Then, following whatever best practices are required, or the template given by the manufacture of the item you’re hanging, hang it on the wall, step back and feel the satisfaction of a job well done.
In Closing
We hope this article answered all of your questions about using a stud finder. If you need advice, have a question or would like to purchase a stud finder for your next DIY project, please use the message box or click one of the links, below, and best of luck!